Three Outdoor Kitchen Budgets, Three Very Different Realities
Photo: PattayaPatrol, CC BY-SA 4.0, via Wikimedia Commons
Every outdoor kitchen conversation starts the same way: someone sees a photo of a stone island with a built-in grill and a pergola, and assumes the number is somewhere around a nice used car. Sometimes it is. Sometimes it's a whole lot less — and sometimes a lot more.
The honest version is that outdoor kitchens don't scale linearly. A $500 setup and a $2,000 setup aren't four times different. They're different in kind. Here's what each tier actually buys you, and where the money goes when you climb.
The $500 Tier: A Cart, a Cover, and Clear Limits
At this price you're not building anything. You're buying a rolling grill cart with side shelves, a folding prep table, a weatherproof cover, and a couple of storage totes that live under the deck.
What you get: a workable outdoor cooking station you can wheel into the garage for winter, zero permitting, zero installation, and a setup that survives a move.
What you don't get: a counter you can lean on, running water, refrigeration, or anything permanent. You'll be carrying plates in and out of the house, and there's no shade unless you already have some.
The smart moves at this tier are unglamorous. Buy a better grill than you think you need and a cheaper cart than you want. Add a magnetic grill light. Get a heavy-duty cover — UV kills more outdoor gear than rain does — and put the whole thing on a hard, level surface so it doesn't sink into the grass by July.
The $2,000 Tier: The DIY Sweet Spot
This is where outdoor kitchens actually start to feel like kitchens, and where a confident DIYer gets the most value per dollar in the entire category.
A typical $2,000 build looks like this: a pressure-treated lumber frame clad in fiber cement board, finished with tile, stone veneer, or cedar slats, capped with a countertop. Budget $300 to $700 for the frame and cladding, $200 to $500 for the top depending on whether you go concrete, tile, or butcher block, and the rest toward a mid-range grill, a drop-in drawer or two, and lighting.
A few things that matter more than the finish:
Ventilation. A propane cylinder stored in a closed cabinet is a genuine hazard — propane is heavier than air and pools at the bottom. Any compartment housing a tank needs venting at both the top and bottom, or the tank goes outside the structure entirely. This is not a detail to improvise.
Clearances. Follow the grill manufacturer's clearance to combustibles, and don't tuck a grill under a wooden pergola or against vinyl siding without checking.
Structure. If it's going on a deck, the deck has to carry the weight. A masonry or stone-clad island is heavy, and a lot of decks were built for a table and four chairs.
Water management. Slope the countertop slightly away from the house, seal the top, and make sure water can't sit inside the frame.
Permitting. This varies wildly by jurisdiction. Adding a gas line, running electrical, or building a structure over a certain height or square footage typically requires a permit. Some HOAs require approval for anything visible from the street. A five-minute call to your local building department before you buy lumber is the cheapest step in the project.
The $10,000 Tier: Built-In and Permanent
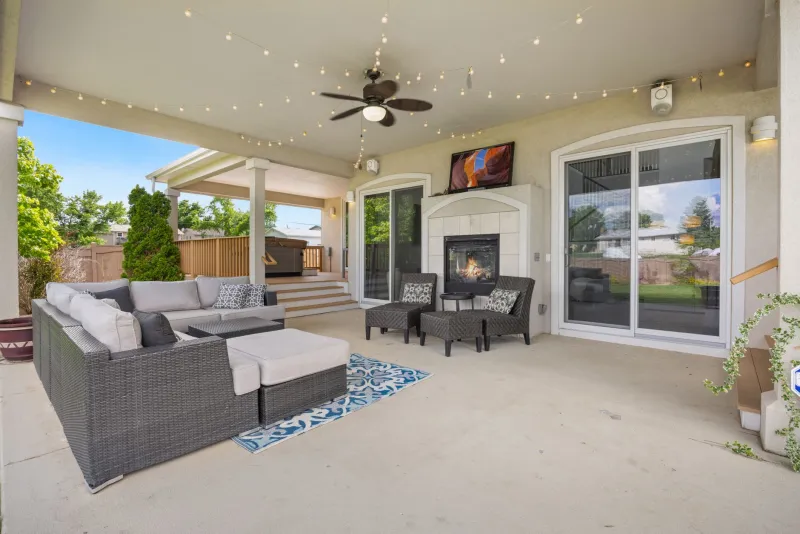
At this level you're commissioning a structure, not assembling one. Expect masonry or steel framing, stone or stucco veneer, a built-in grill with a dedicated ventilated cabinet, a sink with a buried water line, electrical for lighting and outlets, and often a shade structure or pergola above.
Where the money actually goes at this tier: site prep and footings, a licensed plumber for the gas line, an electrician, the built-in grill itself, and labor. It's not unusual for a third to half the budget to disappear into work you'll never see once it's finished.
Two things to get right before anything else:
Footings. In cold climates, anything structural needs to sit below the frost line. Skip it and you'll be looking at heaving and cracking within a few winters.
Materials for your climate. This is where most of the real decision-making lives, and it's covered below.
Materials by Climate
Northeast and Midwest: Freeze-thaw cycles destroy porous stone, unsealed concrete, and cheap tile. Choose materials with low water absorption, seal the counter annually, and build footings below frost depth. Skip anything that traps water in a joint.
Hot, humid South: Moisture and insects are the enemies. Composite and aluminum framing hold up better than wood. Ventilate everything, keep debris out of corners, and expect to clean mold off shaded surfaces.
Southwest: UV and heat. Light-colored surfaces stay cooler to the touch, shade is not optional, and covers protect finishes from sun damage as much as rain.
Pacific Northwest: Drainage and moss. Slope everything, avoid flat surfaces that hold water, and plan for a cover from day one.
Coastal salt air: This is the one place where material grades really pay off. Marine-grade 316 stainless resists salt pitting far better than standard 304. It costs more up front and saves you a replacement grill in five years.
What's Actually Worth Paying For
Worth it, in rough order: shade, counter space, a quality grill, storage that keeps things dry, and electrical outlets within reach. Those five things determine whether you cook outside on a Tuesday or only on the Fourth of July.
Not worth it early: a kegerator, a built-in pizza oven, an outdoor TV, and a giant island with more counter than you'll ever use. All of those are great — after you've actually lived with the space for a season and know what you're missing.
A Sensible Order of Operations
Start with a cart and a good grill. Live with it for a year and pay attention to what annoys you. Then build the counter where you actually stand, add lighting on the circuit you'll need anyway, and only then consider going permanent.
The best outdoor kitchen isn't the most expensive one. It's the one that's already set up when the weather turns nice and you'd rather be outside than in.